
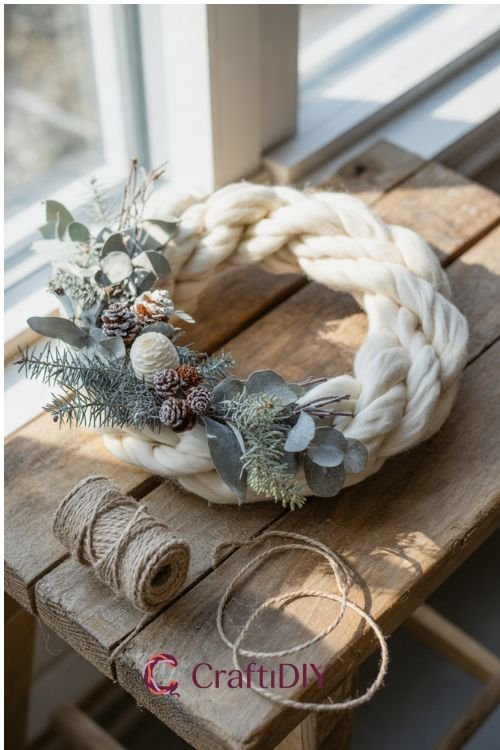
Once the holiday sparkle is packed away, a bare door can look a little sad. A winter wreath DIY project fixes that in an afternoon, and most of these use supplies you already own or can grab at a thrift store for a few dollars. Pick the one that matches your patience level and your porch.
Chunky Sweater Wreath from a Thrifted Knit
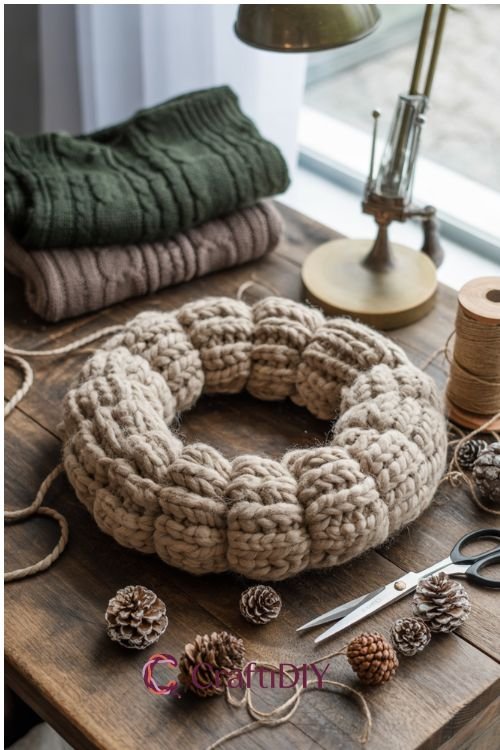
This is the one I’d make first. A cream or oatmeal cable-knit sweater wrapped around a foam ring looks like it came from a pricey boutique, and it’s soft enough that you’ll want to pet it every time you walk past. Bonus: a single big sweater can cover two or three wreaths.
What you’ll need:
- One thick sweater (wool blend is best)
- 14-inch foam wreath form
- Hot glue gun and glue sticks
- Scissors
- Small pinecones or a bit of ribbon for decoration
Steps:
- Cut off the sweater sleeves, then cut them open lengthwise into long rectangles.
- Wrap one strip around the foam ring, overlapping each pass by an inch or so.
- Tuck the cut edges under and dab hot glue to hold them. Add a fresh strip when one runs out.
- Keep going until the whole form is covered, gathering the fabric a little so it looks plump.
- Glue on pinecones or tie a ribbon bow near the bottom.
- Loop a ribbon through the back and hang it up.
Tip: Go for a sweater with texture. A flat knit looks like a wrapped pool noodle, while cables and ribbing give you that cozy depth.
Pom Pom Snowball Wreath on Flannel
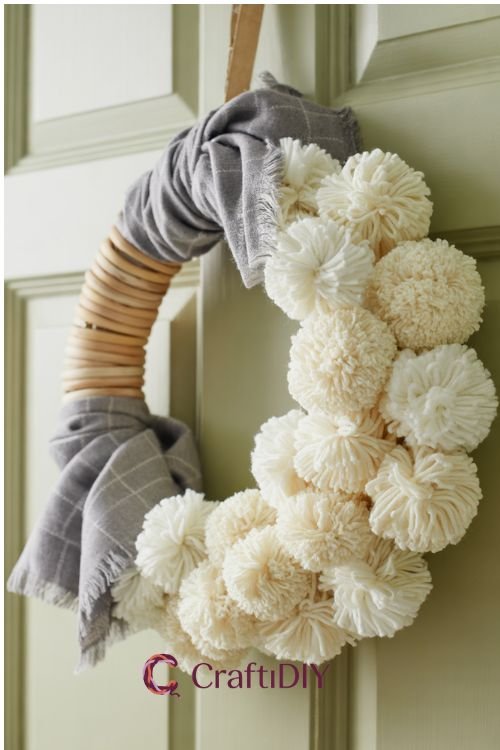
Picture a soft gray flannel wreath dotted with fluffy white snowballs. It’s silly in the best way, and it’s perfect for a playroom door or a hallway mirror. Kids can help with this one because there’s no wrong way to stick on a pom pom.
What you’ll need:
- Foam or straw wreath form
- About a yard of gray or plaid flannel
- White pom poms in three or four sizes
- Chunky white yarn
- Hot glue gun
Steps:
- Tear the flannel into strips about two inches wide. Tearing gives you frayed edges, which look great here.
- Wrap the strips around the form, gluing the ends on the back side.
- Wind a little chunky yarn over the flannel here and there for extra texture.
- Glue the biggest pom poms first, spacing them unevenly around the ring.
- Fill the gaps with the smaller ones until it looks like a snow drift.
- Add a loop of yarn on the back for hanging.
Tip: Use a low-temp glue gun if you have one. Hot glue can melt the cheap acrylic pom poms and leave shiny, crunchy spots.
Grapevine Wreath with Leftover Greenery and Pinecones
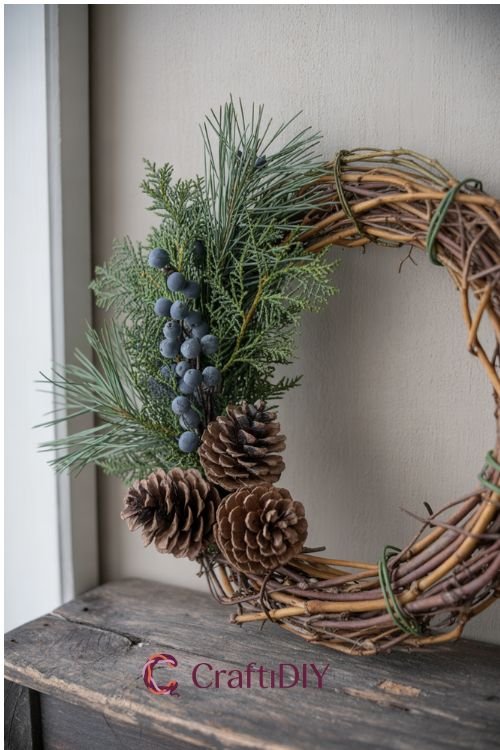
If your Christmas box is overflowing, this is how you put it to work. A plain grapevine ring plus a few faux branches makes a wreath that looks collected instead of store-bought. It’s also the easiest version to take apart in spring, so your greenery goes back in the box unharmed.
What you’ll need:
- Grapevine wreath, 20 to 24 inches
- Three or four faux pine or cedar stems
- One stem with berries, like juniper
- A few pinecone picks
- Floral wire
Steps:
- Lay the wreath flat on a table and set your greenery on top before you attach anything.
- Slide the biggest stem into the vines at an angle, pointing the same direction around the ring.
- Add the other greens, letting them overlap so no bare vine peeks through.
- Tuck in the berries and pinecones, then wire them where they feel loose.
- Bend a few stems out and away from the ring so it isn’t flat.
- Add a wire loop or ribbon and hang it.
Tip: Pick a focal point, like a cluster of pinecones off to one side, and build around it. Even spacing all the way around usually looks stiff.
Wooden Bead Embroidery Hoop Wreath
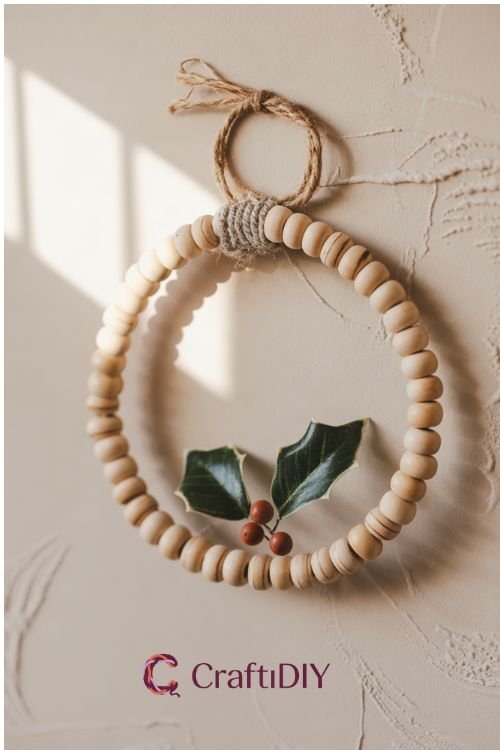
Simple, pretty, and a little Scandinavian. It’s good for people who like their decor quiet. You can finish one in under an hour, and it fits nicely over a kitchen window or a bedroom wall.
What you’ll need:
- 10-inch wooden embroidery hoop (just the inner ring)
- About 60 unfinished wooden beads, 3/4 inch
- Hot glue gun
- Faux holly or a small sprig of greenery
- Twine for hanging
Steps:
- Pull the two rings of the hoop apart and set aside the one with the screw. You only need the plain inner ring.
- Run a line of hot glue along a short section of the ring and press beads into it.
- Keep working in small sections so the glue doesn’t dry before you place the beads.
- When the ring is covered, let it cool for a few minutes.
- Tuck a small sprig of holly or greenery at the bottom or side and glue it down.
- Tie a loop of twine at the top.
Tip: If the beads look a little raw, brush on a thin coat of white chalk paint or leave them natural. Either way looks lovely, but don’t mix the two.
Coat Hanger Heart Wreath with Fresh Evergreen
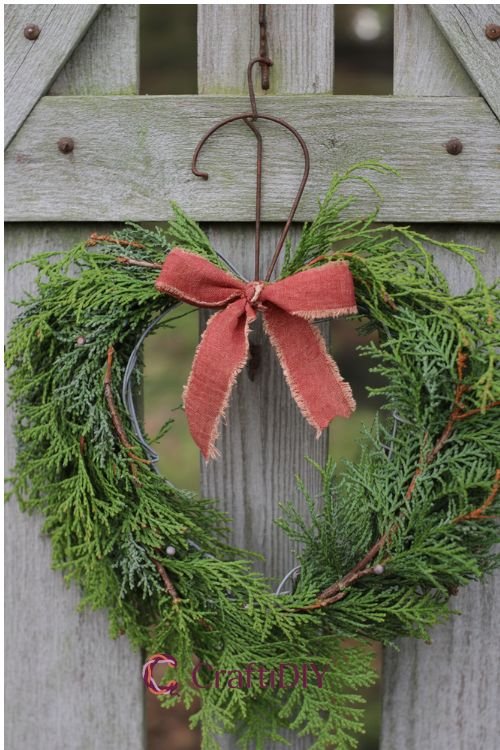
This one starts with the humble wire hanger, which is about as cheap as a craft supply gets. Bend it into a heart, wrap it with real evergreen clippings, and you’ve got something fragrant that smells like a forest. Hang it on a gate or a shed door for a little charm.
What you’ll need:
- One wire coat hanger
- Pliers
- Fresh evergreen clippings (cedar, pine, or fir)
- Floral wire
- Ribbon
Steps:
- Straighten the hanger with your hands, then bend it into a heart shape. Use pliers to twist the ends together.
- Cut your evergreen into short pieces, about six inches.
- Lay a few pieces along the wire and wrap floral wire around the stems to hold them.
- Add the next bunch so the leaves cover the stems of the previous one.
- Work all the way around until the heart is full.
- Tie a ribbon bow at the top and hang it.
Tip: Fresh greenery drops needles indoors, so this wreath is happiest outside. Spritz it with a little water now and then and it’ll last for weeks in cold weather.
Scarf-Wrapped Wreath for Winter Colors
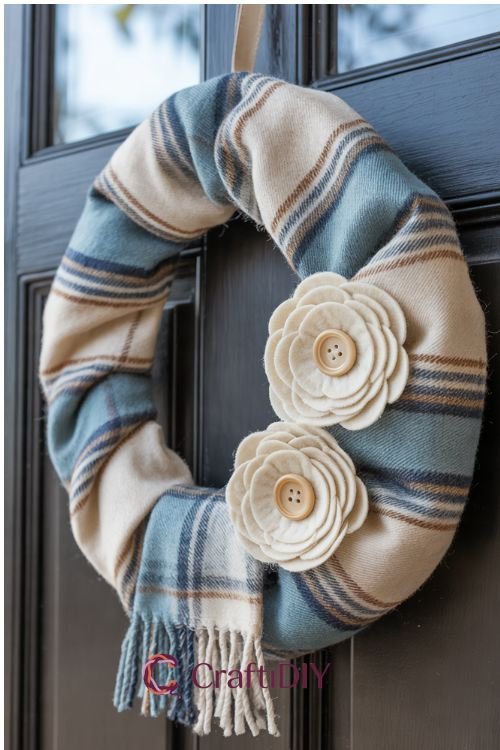
Got a scarf you never wear? Same here. Wrapped around a wreath form it becomes a soft, colorful welcome sign. Plaid, buffalo check, or a nice icy blue all work well, and a scarf with fringe gives you a free tassel effect.
What you’ll need:
- Long scarf (at least 60 inches)
- Straw or foam wreath form
- Straight pins or hot glue
- Buttons, a felt flower, or a small bow
- Ribbon for hanging
Steps:
- Pin one end of the scarf to the back of the form.
- Wrap the scarf around the ring, keeping the pattern facing out.
- Pull it snug as you go, but not so tight that the fabric puckers.
- When you get back to the start, tuck the end under and pin it.
- Sew or glue on your decorations near one side.
- Attach a ribbon loop on the back.
Tip: If the scarf is too thin and the straw shows through, wrap the form in plain batting first. It’ll look fuller and plumper.
Your Turn to Make One
Pick whichever idea made you smile and start there. Nobody needs a perfect wreath, and mine have gone crooked more than once, only to end up my favorites anyway. If your first try turns out a little wonky, hang it up and enjoy it for a few days before you decide. Then snap a photo when it’s on your door and share it with a friend, or pin it so you can find it next winter.