
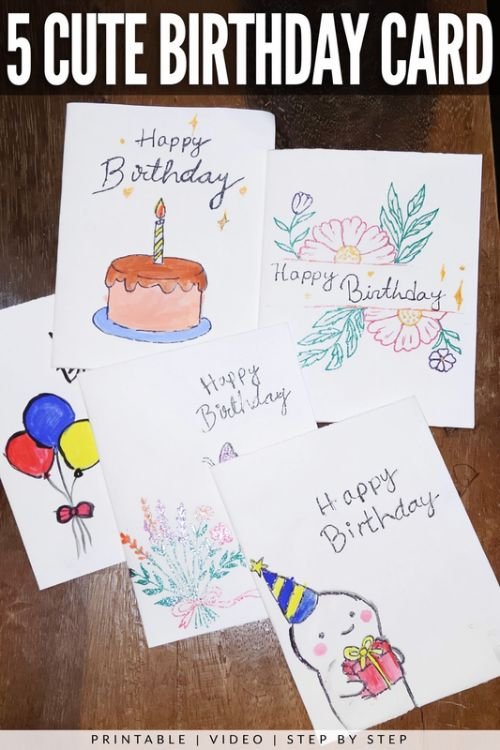
Store-bought cards get tossed in a drawer. A handmade one gets kept. This birthday card drawing set has five cards I made: a chocolate cake with one candle, a doodle character in a party hat, a glittery bouquet with a butterfly, three balloons with a bow, and a flower frame made with washi tape. Most of them only need a pencil, a few colors, and a glitter gel pen.
A Chocolate Cake with One Striped Candle
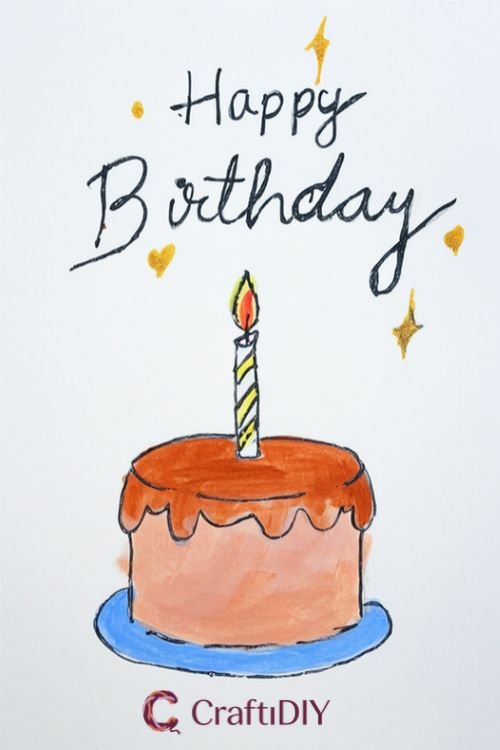
If you only try one, make it this one. It’s a brown cake with a drippy darker top, a pale blue plate, and a yellow-and-white candle with a red flame. A few gold stars and hearts float around the lettering.
You’ll need: paper, a 2B pencil, an eraser, watercolors in chocolate brown, white, blue, yellow, and red, plus black and gold glitter gel pens.
Here’s the order I worked in:
- Sketch the cake in pencil.
- Add the candle standing on top of the cake.
- Write “Happy Birthday” above it, then add little stars and hearts around the words.
- Paint the top of the cake chocolate brown.
- Mix some white into the brown and use that lighter shade for the lower part of the cake.
- Mix white into blue for a soft, pale plate.
- Paint the candle with yellow and white stripes, then the flame in yellow and red.
- When it’s dry, redo all the borders with the black glitter gel pen and trace over the lettering to make it bold.
- Color the stars and hearts with the gold glitter gel pen.
Tip: Don’t draw the borders in glitter ink until the paint has fully dried. Wet paint drags the ink.
👉 Download Colored PDF –
👉 Download Coloring Page
A Doodle Character in a Striped Party Hat
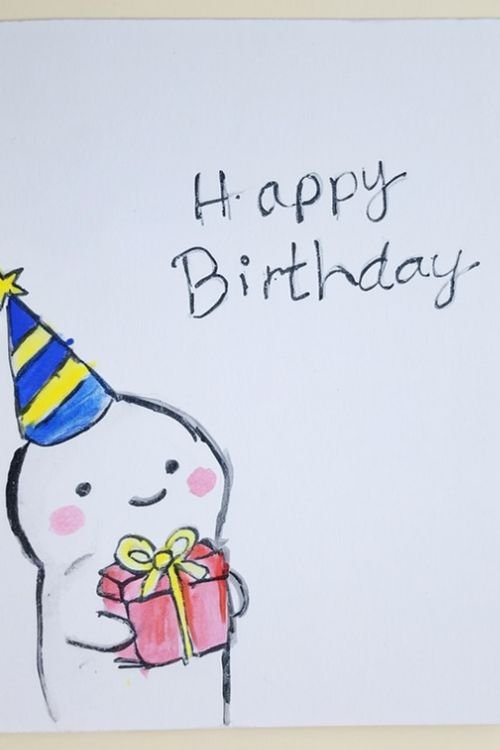
This one’s the quickest of the five. A round little character with pink cheeks and a tiny face, wearing a blue-and-yellow striped hat with a gold star, holding a red present with a yellow bow.
Materials: a 2B pencil, watercolor paper, watercolors, and a black glitter gel pen.
- Draw the doodle character in pencil first.
- Write “Happy Birthday” above it.
- Color it in with watercolors.
- Outline the character with the black glitter gel pen, and go over the lettering again so it looks bold.
Keep the face super simple. Two dots and a small mouth is all it needs. Watercolor paper handles the wet paint much better than regular paper does, so use it here if you can.
Download PDF
A Glitter Bouquet with a Fluttering Butterfly
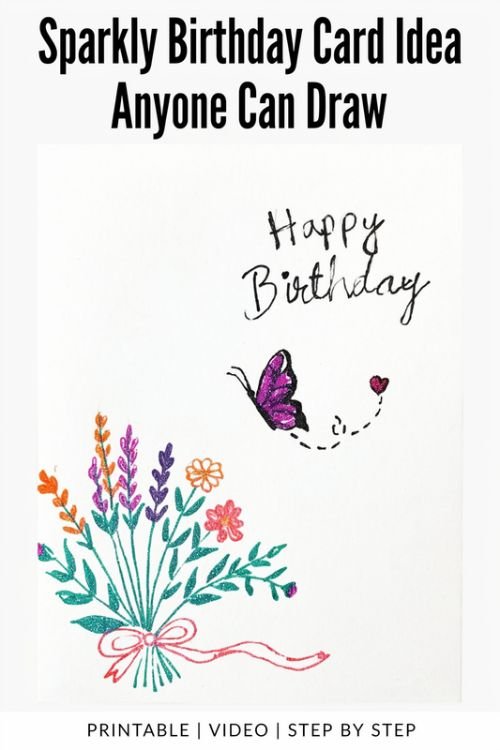
This one is all glitter gel pens, no paint. It’s the sparkliest card of the five: an orange, purple, and violet bouquet with green leaves and a red bow, and a purple butterfly flying away with a dotted trail ending in a tiny red heart.
You’ll need glitter gel pens in green, red, purple, violet, orange, and black, plus paper. A pencil is optional.
Start with the bouquet in the bottom left corner. Draw the flowers and leaves, then the red bow around the stems. Next, add the butterfly above the bouquet with its dotted flight path and the little heart. Last, write “Happy Birthday” in black at the very top. If you want, you can sketch the whole thing in pencil first and trace over it with the glitter pens afterward. That’s the safer way if you’re nervous about going straight in.
Let each color dry a bit before you draw something right beside it. Glitter ink stays wet longer than you’d think.
Colored Birthday Card Download
Three Balloons Tied with a Red Bow
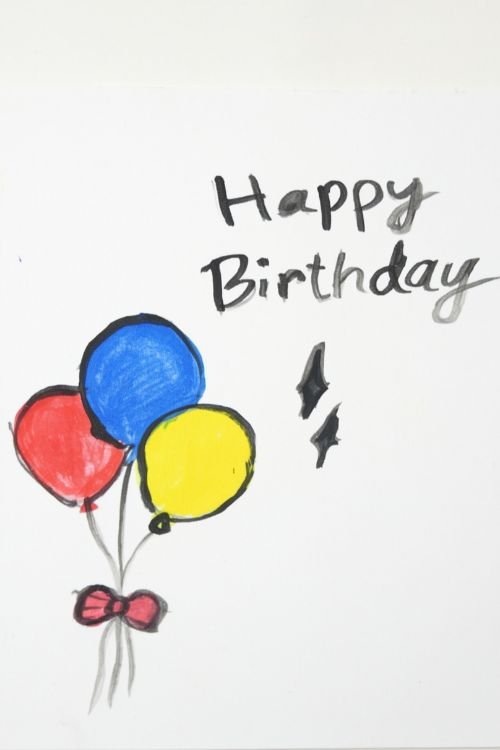
Short and bold. Red, yellow, and one more big balloon, bunched together with long strings and a small red bow.
Pencil the balloons first. Draw the strings next, then the bow on top of where the strings meet. Add a few sparkles beside the balloons and write “Happy Birthday” above them. Then color it all in. I used a 2b pencil, paper, and watercolors in red, green, yellow, and black.
Download Colored Page
Download Coloring Page
Black outlines make bright colors look brighter. Don’t hold back.
A Flower Frame, Made with Washi Tape
This is the one that looks the most finished. Big red flowers sit above and below a clean white band, and “Happy Birthday” runs through the middle in black. There are gold sparkles, little hearts, and a couple of violet flowers on the side.
The trick here is the washi tape. It keeps the center of the card blank while you draw all around it, so the lettering fits perfectly later.
What you’ll need:
- Paper
- White washi tape
- A 2b pencil
- Glitter gel pens in gold, red, green, violet, and black
Steps:
- Stick the white washi tape across the middle of the paper.
- With your pencil, draw flowers and leaves on both sides of the tape, above and below. Let the drawing run right up against the tape edge.
- Trace over your pencil lines with the glitter gel pens: red for the petals, green for the leaves, violet for the small flowers.
- Peel the washi tape off. Now you’ve got a clean white band across the card.
- Write “Happy Birthday” in black glitter gel pen in that white band.
- Add some golden sparkles with the gold glitter gel pen.
[PHOTO: your card with the washi tape still on and the flowers drawn, if you have it]
[PHOTO: finished flower frame card, full view]
A couple of things. Pull the tape off slowly, and make sure the ink is dry first so nothing smears.
Pick whichever card fits the person you’re making it for, or make all five and keep a stack ready for the next few birthdays. Swap the colors around and make it yours. And if you do try one, I’d love to see how it turns out.