
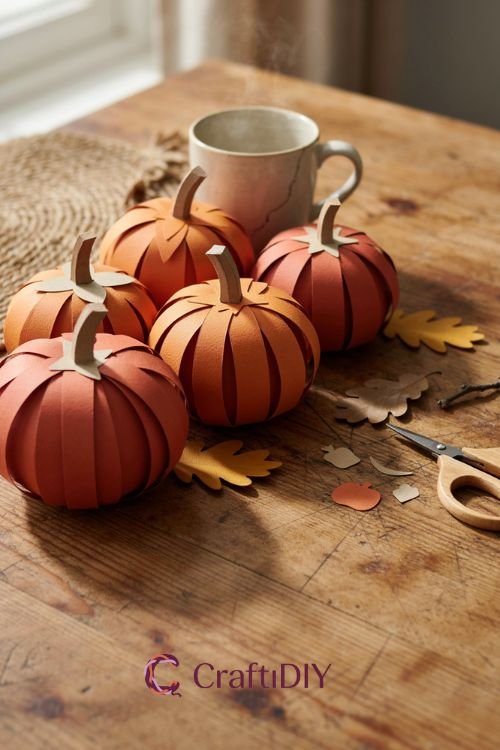
Grab a mug of something warm, because these DIY fall crafts for adults are exactly the kind of Saturday-afternoon project that makes the whole house feel like autumn arrived on purpose. No glue gun burns from complicated projects here — just simple, satisfying makes that use stuff you can grab at any craft store or even find in your backyard. Pick one, put on a playlist, and let’s get your space ready for sweater season.
Painted Terracotta Pumpkins for Your Front Steps
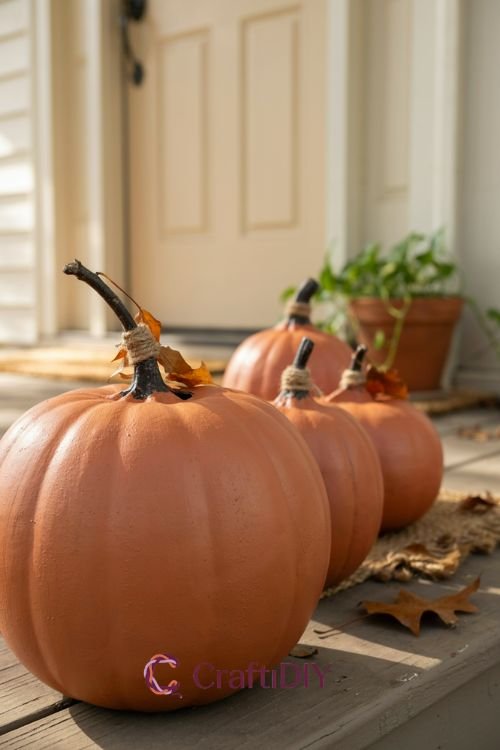
Plain terracotta pots turned upside down make surprisingly convincing pumpkins, and honestly, this one fools people every single time. A pair of these flanking your front door reads as expensive fall decor, but you’re really just working with clay pots and paint.
What you’ll need:
- 2-3 terracotta pots in different sizes
- Burnt orange or rust acrylic paint
- A curved stick or dark branch for the stem
- Hot glue
- A small paintbrush
Steps:
- Flip the pot upside down — the drainage hole becomes the perfect spot for your stem later
- Paint the whole pot in thin coats, letting each one dry before the next
- Once it’s fully dry, dip your stick into the drainage hole and secure it with hot glue
- Add a little extra paint or twine around the base of the stem for texture
- Set them out in a cluster near your porch, mixing sizes so it doesn’t look too uniform
Tip: Skip the glossy paint. Matte finishes are what sell the “real pumpkin” illusion — shiny paint just screams craft store.
No-Carve Pumpkin with Pressed Flowers
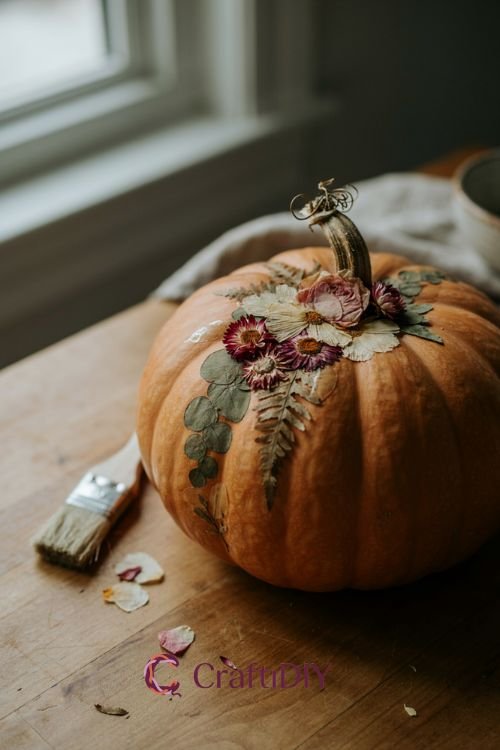
If actual pumpkin carving isn’t your thing (the mess, the seeds, the way it rots by week two), this pressed-flower version lasts through the whole season and looks like something out of a florist’s window.
What you’ll need:
- 1 real or faux pumpkin
- Dried or pressed flowers and leaves
- Mod Podge or clear craft glue
- A foam brush
Steps:
- Lay out your flowers on the pumpkin before gluing anything, just to plan the arrangement
- Brush a thin layer of glue onto the pumpkin where the first flower will sit
- Press the flower down gently and smooth out any air bubbles
- Repeat with the rest of your flowers, working from the largest to the smallest
- Once everything’s placed, seal the whole thing with one more light coat of glue over the top
Watch out: If you’re using a real pumpkin, this project only lasts a week or two before it starts to soften. Faux pumpkins are the move if you want this on display through Thanksgiving.
Dried Orange Slice Garland
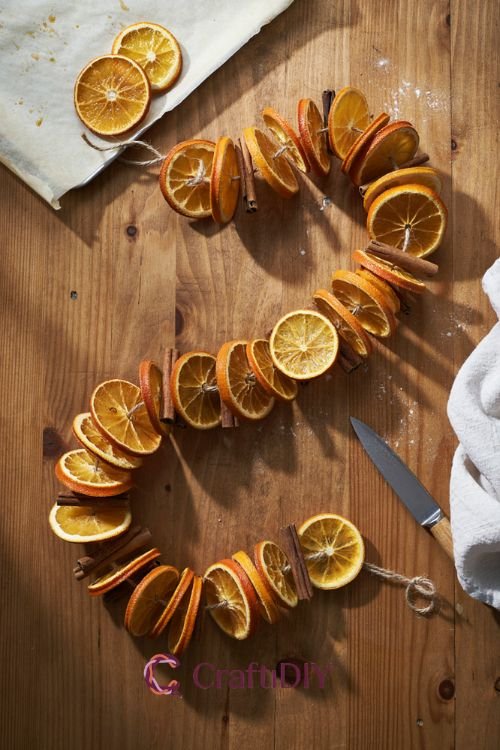
There’s something about the smell of oranges baking low and slow that just is autumn. This garland dries out and shrinks a little, giving you these gorgeous stained-glass-looking slices you can string up anywhere.
What you’ll need:
- 4-5 oranges
- Cinnamon sticks
- Twine
- A sharp knife
- Paper towels
Steps:
- Slice the oranges about a quarter-inch thick and pat them dry with paper towels
- Lay them on a baking sheet lined with parchment paper
- Bake at a low temperature (around 200°F) for 3-4 hours, flipping halfway
- Let them cool completely and dry out overnight if they still feel tacky
- Thread twine through each slice with a needle, alternating with cinnamon sticks for spacing
Tip: They’ll shrink more than you’d expect, so slice thicker than feels necessary. Thin slices tend to curl or crack once dried.
Hand-Lettered Wooden Sign for the Mantel
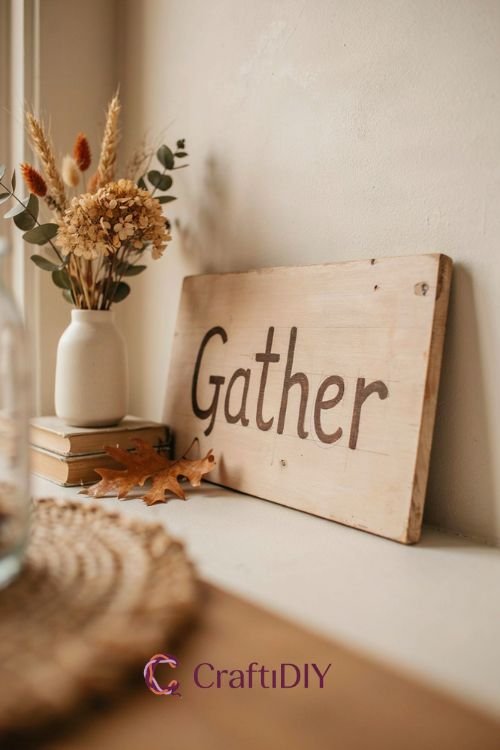
A little painted sign is one of those projects that looks way more polished than the effort it actually takes. This one’s great if you’ve been wanting to try hand lettering but haven’t found the right excuse yet.
What you’ll need:
- A wood plank or pre-cut sign blank
- Acrylic paint or a paint pen
- Pencil for sketching
- Painter’s tape, optional
Steps:
- Lightly sketch your word or phrase in pencil first — something short works best, like “Gather” or “Harvest”
- Rough in the basic letter shapes before adding any flourishes
- Go over your pencil lines with paint or a paint pen, starting with the thinnest strokes
- Fill in thicker sections and let it dry completely before erasing any stray pencil marks
- Prop it against a vase or lean it on a stack of books for a styled mantel look
Tip: Don’t worry about perfect penmanship. A little wobble in the letters actually makes it look handmade instead of printed, which is the whole point.
Cinnamon-Scented Salt Dough Ornaments
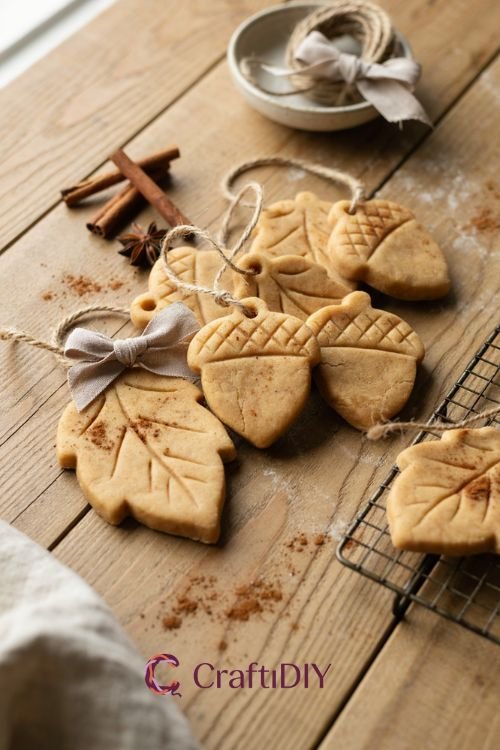
These little clay ornaments smell incredible while they bake, and they make genuinely lovely gifts if you tie a few onto a bottle of wine or tuck them into a card.
What you’ll need:
- 2 cups flour
- 1 cup salt
- 1 tablespoon ground cinnamon
- Water
- Cookie cutters in leaf or acorn shapes
- A straw or skewer for the hanging hole
Steps:
- Mix the flour, salt, and cinnamon, then slowly add water until it forms a workable dough
- Roll it out to about a quarter-inch thickness
- Cut shapes with your cookie cutters and poke a hole near the top with the straw
- Bake at a low temperature until they’re firm and dried through — this can take a couple hours
- Once cooled, thread ribbon or twine through the hole for hanging
Watch out: Roll the dough too thin and they’ll snap once they’re dry, so err on the thicker side even if it means a longer bake time.
Autumn Leaf Pressed Candle Holders
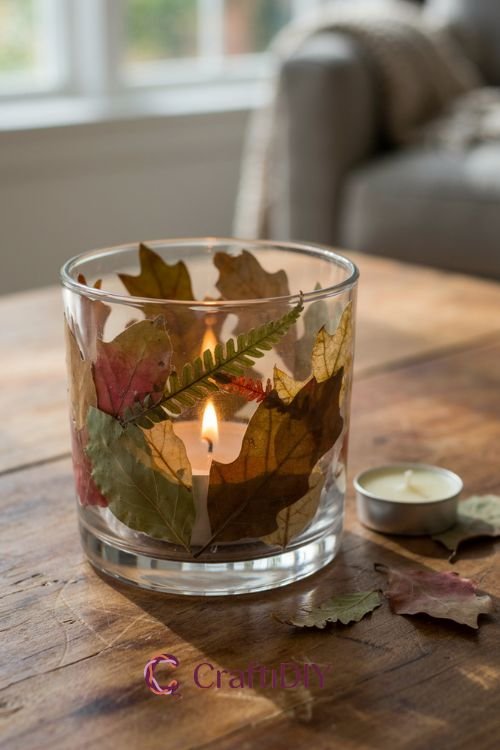
This one’s satisfying in a way that’s hard to explain until you try it. You end up with warm, glowing candle holders that cast little leaf-shaped shadows around the room.
What you’ll need:
- Clear glass votive holders or jars
- Pressed leaves in various shapes
- Mod Podge
- Tea light candles
Steps:
- Press your leaves flat between heavy books for at least a few days before starting
- Brush a layer of glue onto the outside of the glass jar
- Press leaves onto the glue, overlapping slightly for a fuller look
- Seal everything with another light coat of glue over the top of the leaves
- Let it dry fully before placing a tea light inside
Tip: Keep the leaves clear of the very top rim of the glass — you don’t want anything near the flame once the candle’s lit.
There’s genuinely something grounding about working with your hands this time of year, and these projects are proof you don’t need a Pinterest-perfect craft room to pull it off. Pick whichever one matches the mood you’re going for this weekend, snap a photo when it’s done, and don’t be surprised if you end up making a second batch for a friend who won’t stop asking where you got it.