
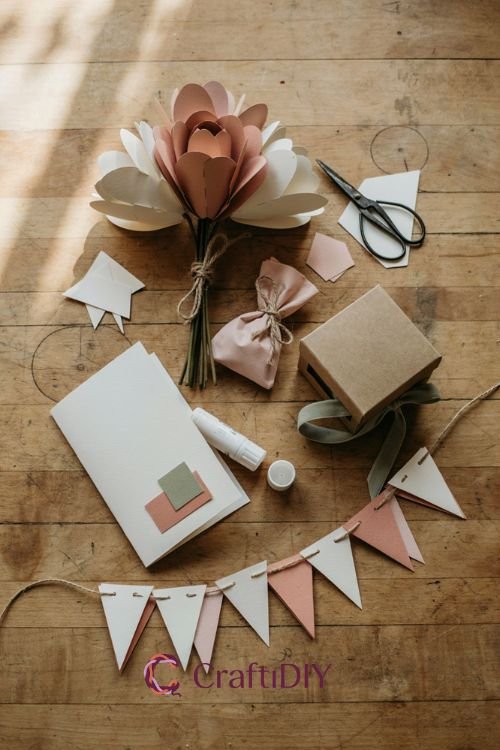
Running out of time before a birthday or holiday and don’t want to just grab something off a shelf again? Paper crafts are honestly one of the most underrated gift categories out there — cheap, fast, and somehow they always feel more personal than store-bought stuff. All you really need is some paper, glue, and a free evening. Here are five ideas that don’t require fancy tools or a trip to a specialty craft store.
Origami Photo Frame Gift Box
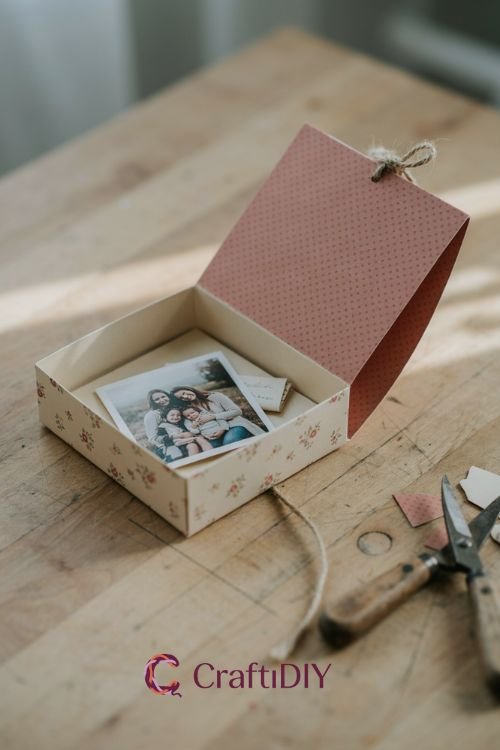
This one doubles as the wrapping and the gift, which is kind of the whole point. Fold a simple origami box, tuck a small printed photo or note inside, and you’ve got something that looks way more thought-out than it actually was.
What you’ll need:
- 2 sheets of square origami or scrapbook paper (6×6 inches works well)
- Scissors
- A small photo or handwritten note
- Ribbon (optional)
Steps:
- Fold one paper sheet into a classic origami box base — fold corner to corner both ways to find the center crease.
- Fold each corner into the center point, then unfold.
- Fold the top and bottom edges to the center, then unfold those too.
- Use the crease lines to collapse the paper into a box shape — it’ll feel awkward the first time, that’s normal.
- Repeat with the second sheet, sized just slightly larger, to make the lid.
- Slip your photo or note inside, tie with ribbon if you’re using it.
Tip: Cardstock holds the folds better than regular printer paper if you have it lying around.
Layered Paper Flower Bouquet
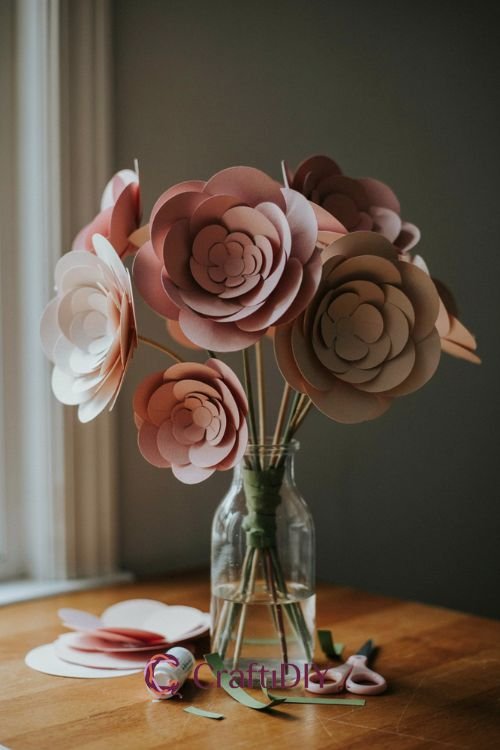
I made a bunch of these for my sister’s birthday and honestly they lasted longer than real flowers would have. Pick a color palette — dusty pink and cream, or bold red and gold, whatever fits the person you’re making it for.
- Colored cardstock or construction paper (3-4 colors)
- Scissors
- Glue stick or hot glue
- Wooden skewers or floral wire
- Green paper or tape for stems
Cut circles in graduating sizes, from about 4 inches down to 1 inch. Stack them largest to smallest, crumpling and reshaping each layer slightly before gluing it to the one below. Curl the petal edges gently around a pencil for a more realistic look. Glue the finished flower to a skewer, wrap the stem in green paper, and repeat until you’ve got a bouquet. Not gonna lie, the first one always looks a little lopsided — by flower three you’ll have the rhythm down.
Handmade Pop-Up Card
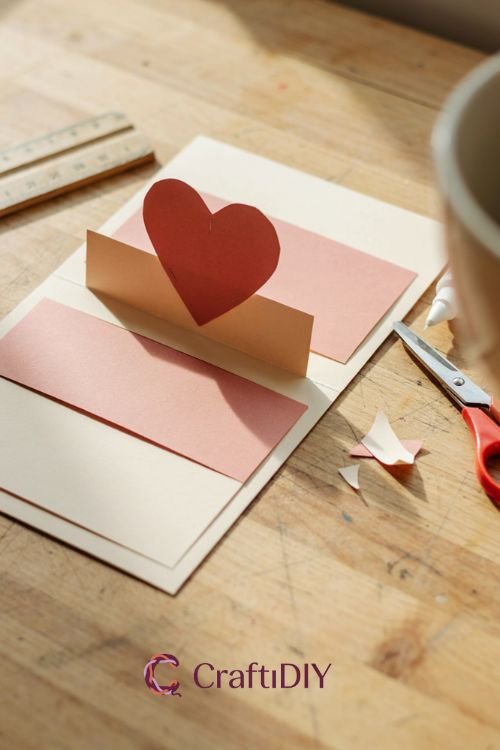
This is the one people actually keep. A flat card is nice, but a pop-up feels like an event when someone opens it.
What you’ll need:
- Cardstock (2 colors)
- Scissors
- Ruler
- Glue
Steps:
- Fold your base cardstock in half to form the card.
- On a second piece, cut two parallel slits about 1-2 inches apart along the fold line.
- Push the cut section through to the inside, creasing it to form a 3D tab.
- Fold your card closed and open again to set the pop-up shape.
- Decorate the tab — a paper heart, star, or simple shape cut from contrasting paper.
- Write your message around the pop-up, then glue the whole insert into your card base.
[PHOTO/VIDEO: card opened flat showing the pop-up tab standing up]
Watch out: if the slits are too close together, the tab tears when you push it through — leave at least an inch of space.
Paper Bead Bracelet
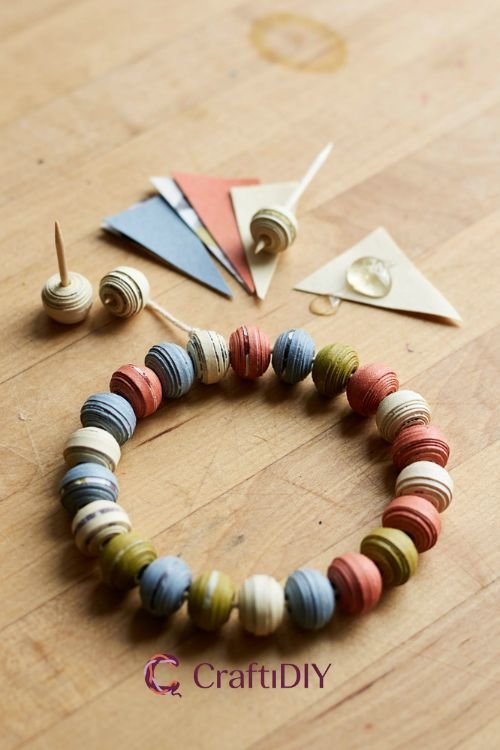
Cut long thin triangles from old magazine pages or patterned paper, then roll them tightly around a toothpick starting from the wide end. A dab of glue at the tip holds the shape. Once you’ve rolled maybe fifteen or twenty beads, coat them in a thin layer of clear glue or mod podge and let them dry overnight — this is what keeps them from unraveling later. String them onto elastic cord or thin ribbon once fully dry, and you’ve got a bracelet that costs almost nothing but looks intentional.
Quilled Paper Wall Art
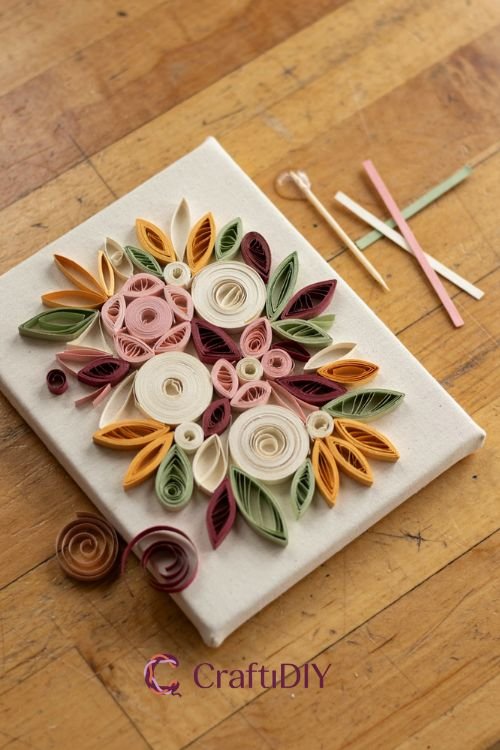
Quilling takes a little more patience than the others, but it’s genuinely satisfying once you get the hang of rolling the coils. Grab a quilling tool if you have one, or just use a toothpick.
What you’ll need:
- Quilling paper strips (or cut your own thin strips from cardstock)
- Quilling tool or toothpick
- Glue
- Small canvas or cardstock backing
Steps:
- Roll a strip tightly around the tool to form a coil.
- Let it loosen slightly, then glue the end to hold the shape.
- Pinch the coil into a teardrop, leaf, or petal shape depending on your design.
- Arrange several shaped coils on your backing before gluing anything down — plan it out first.
- Glue each piece in place once you’re happy with the layout.
- Let it dry flat for a couple hours before hanging or framing.
I still mess up the pinching step more than I’d like to admit, but honestly a slightly uneven petal just adds character.
Whatever you end up making, the recipient’s going to know you put actual time into it, and that matters more than whether every fold is perfect. Give one of these a try and see which one becomes your go-to.